[Prototype] #giveaway ended
Congratulations to our friend with the email ******375@icloud.com on winning! We’ll reach out to you through this email. A big thank you to everyone who participated. The Groupbuy is now open, and you can join in right here!
Update 2
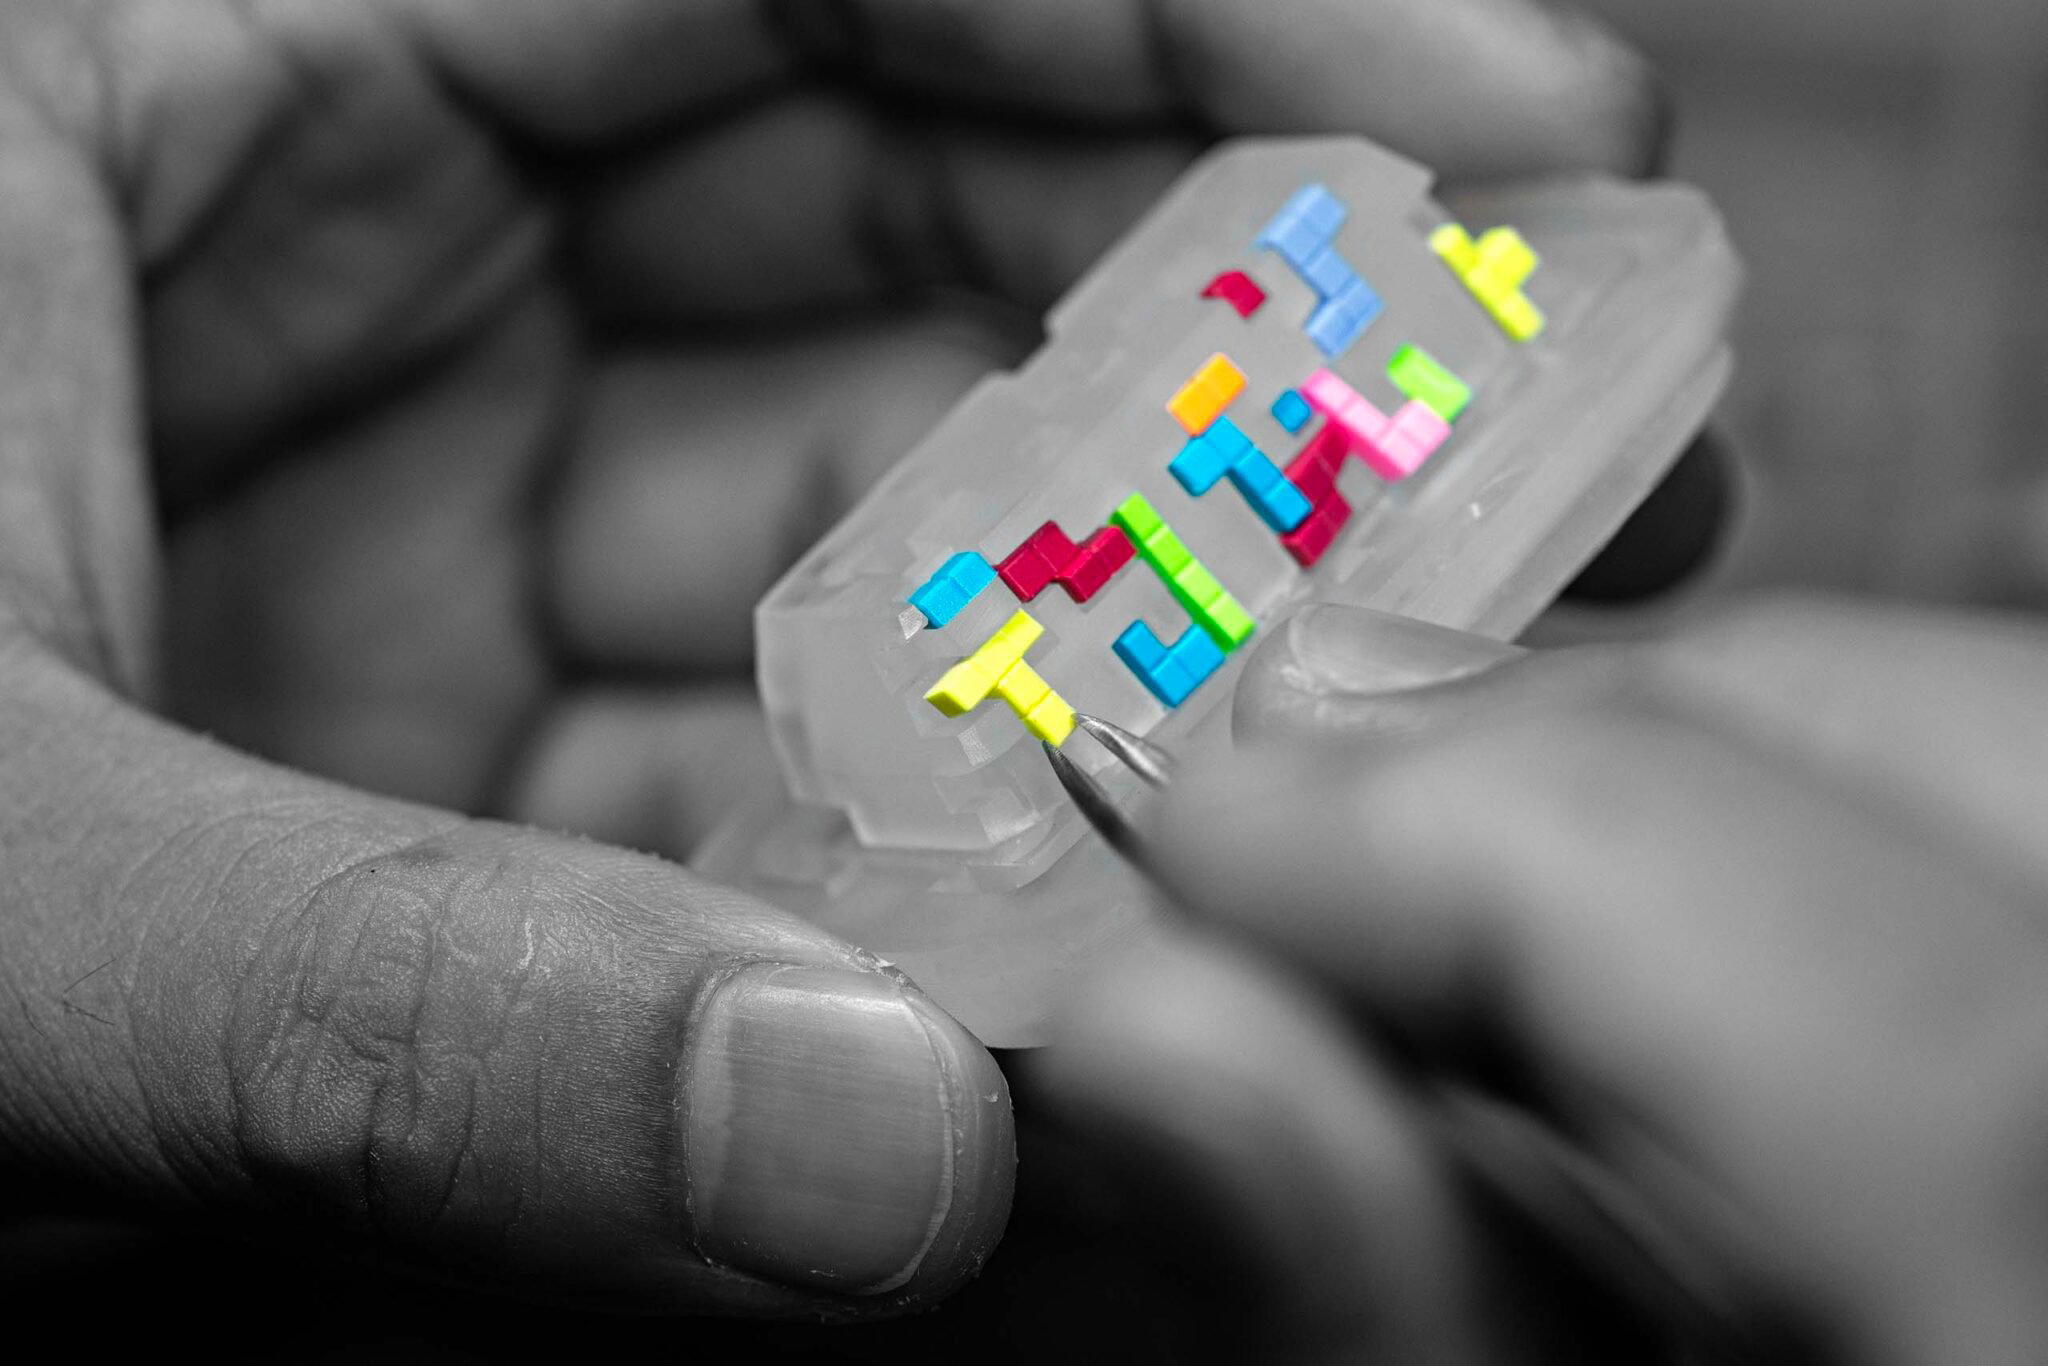
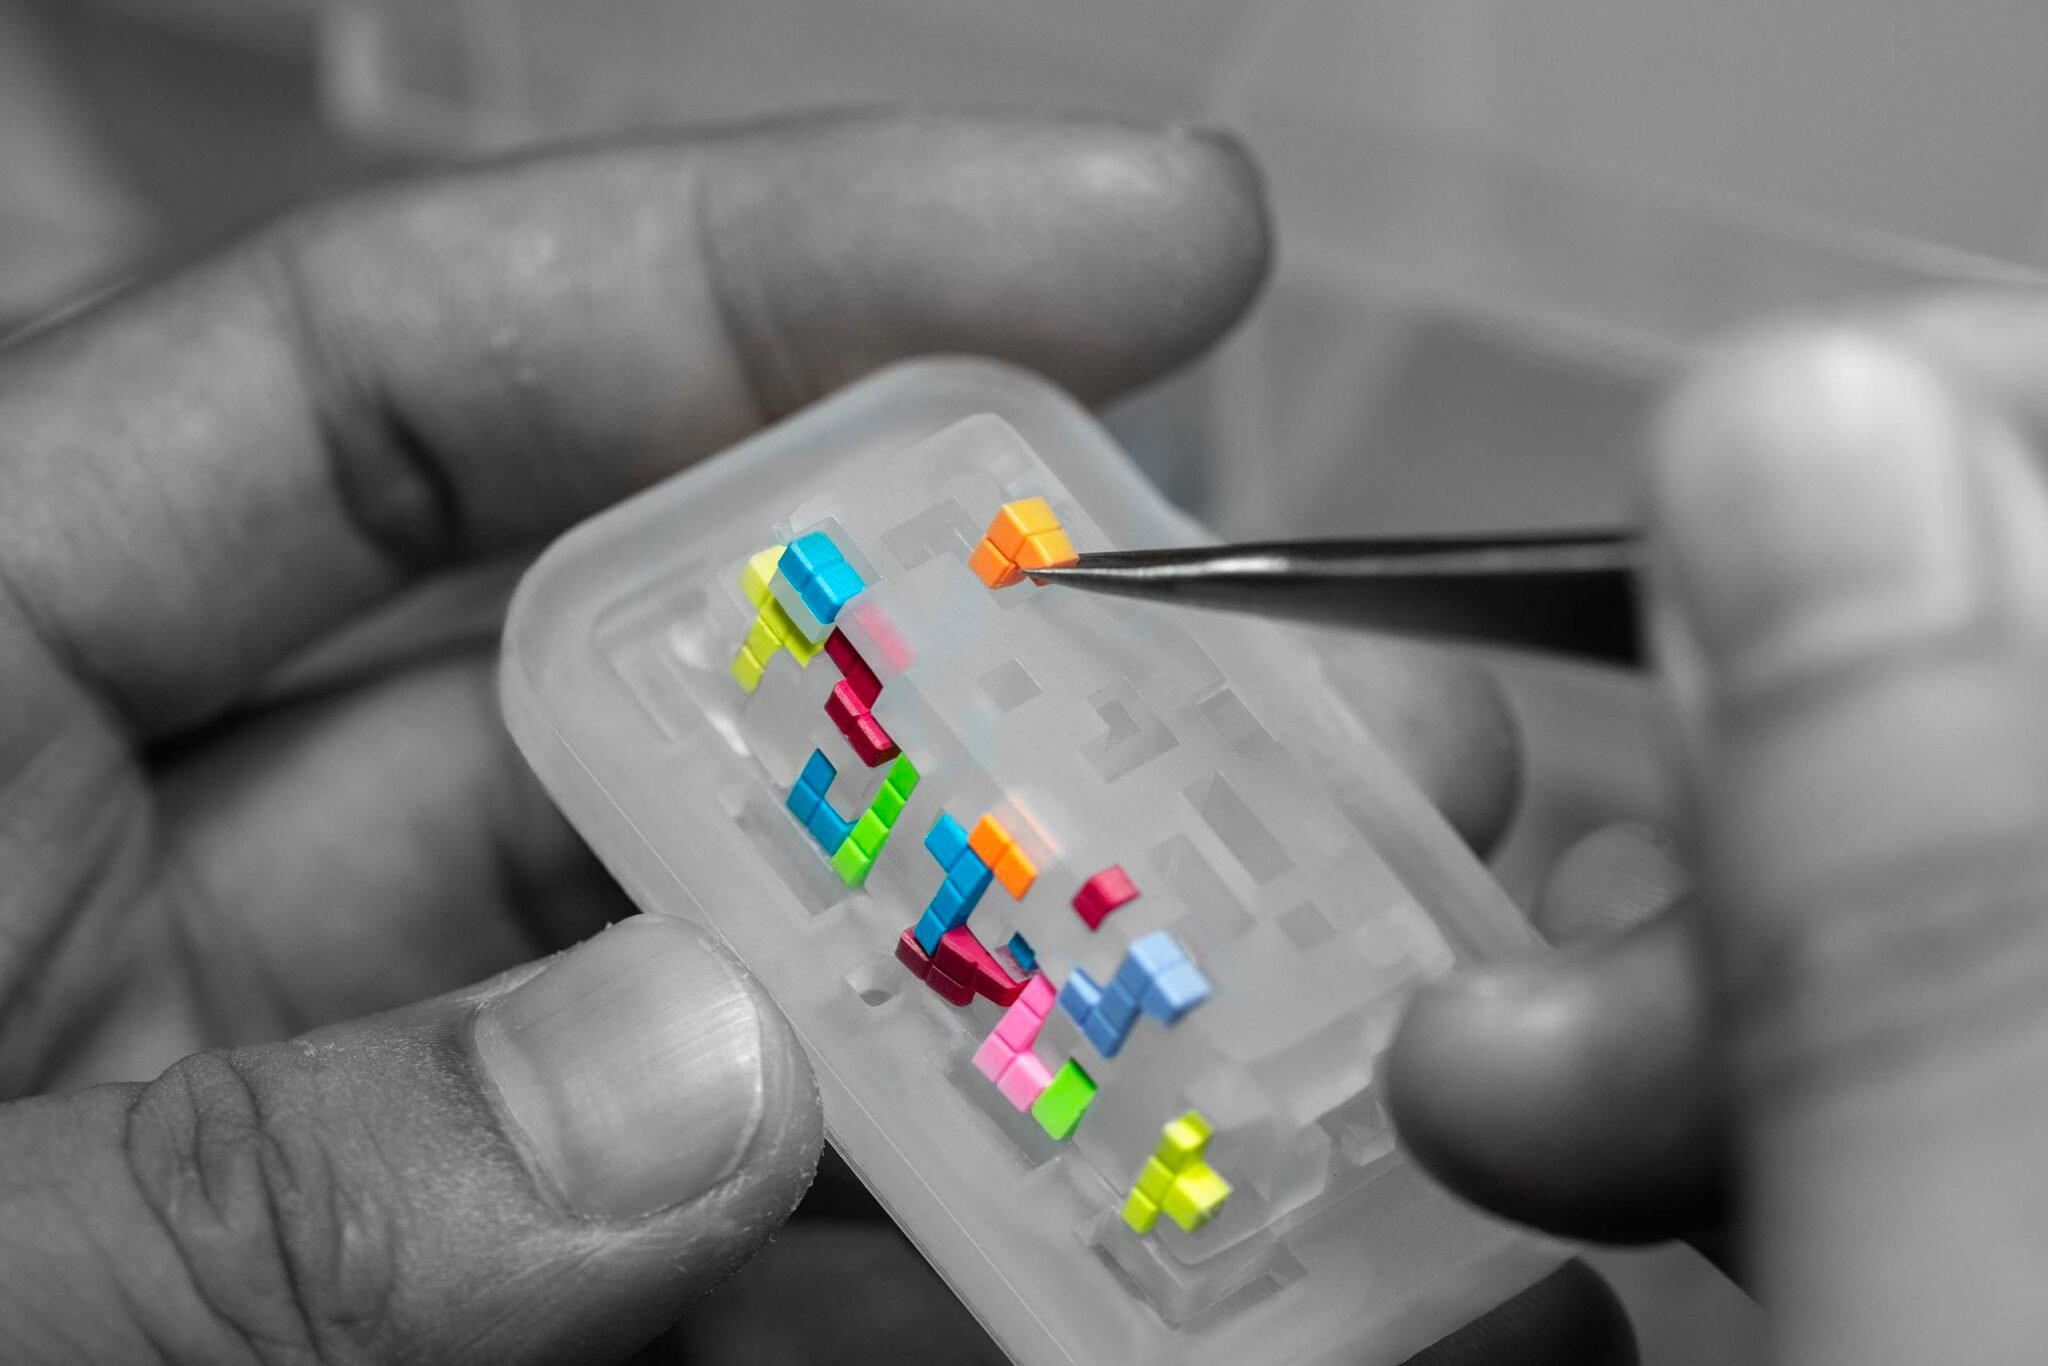
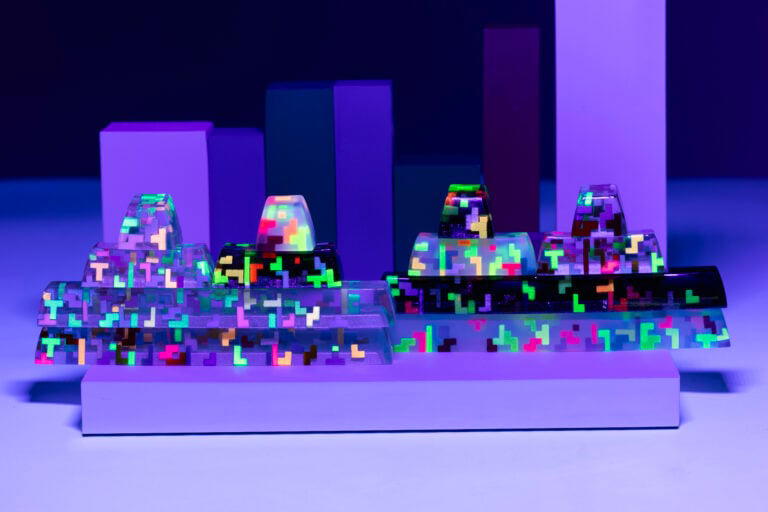
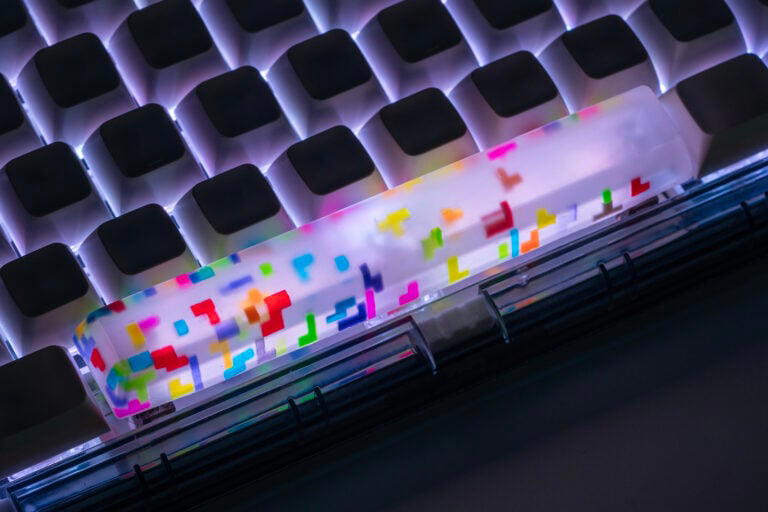
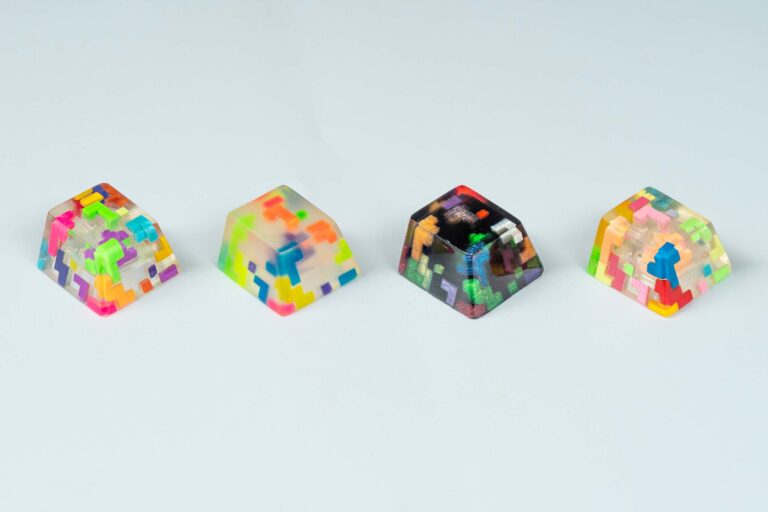
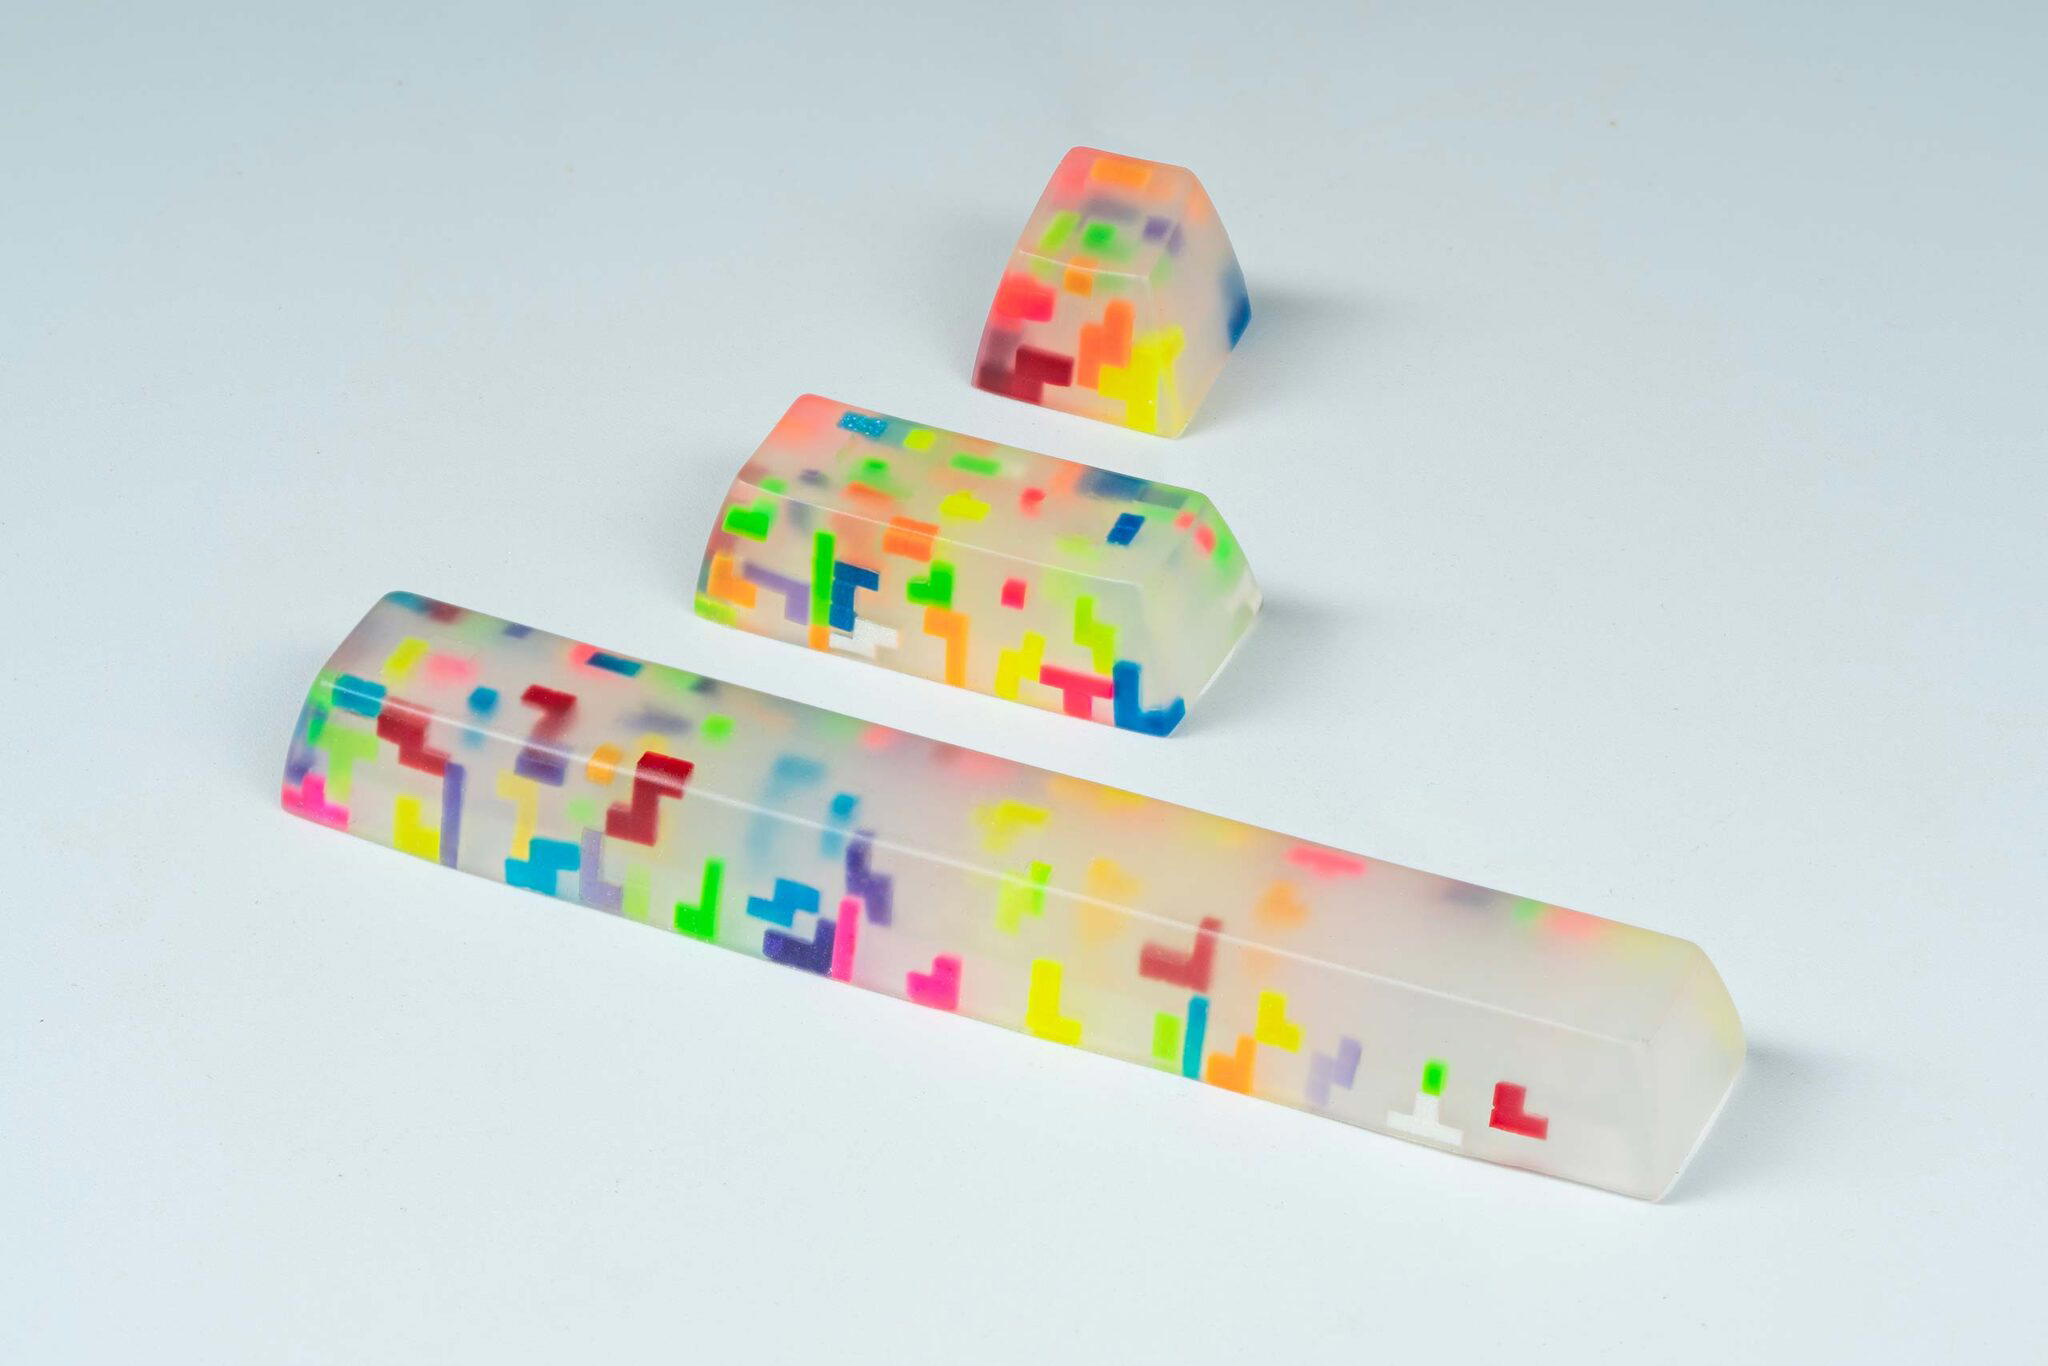
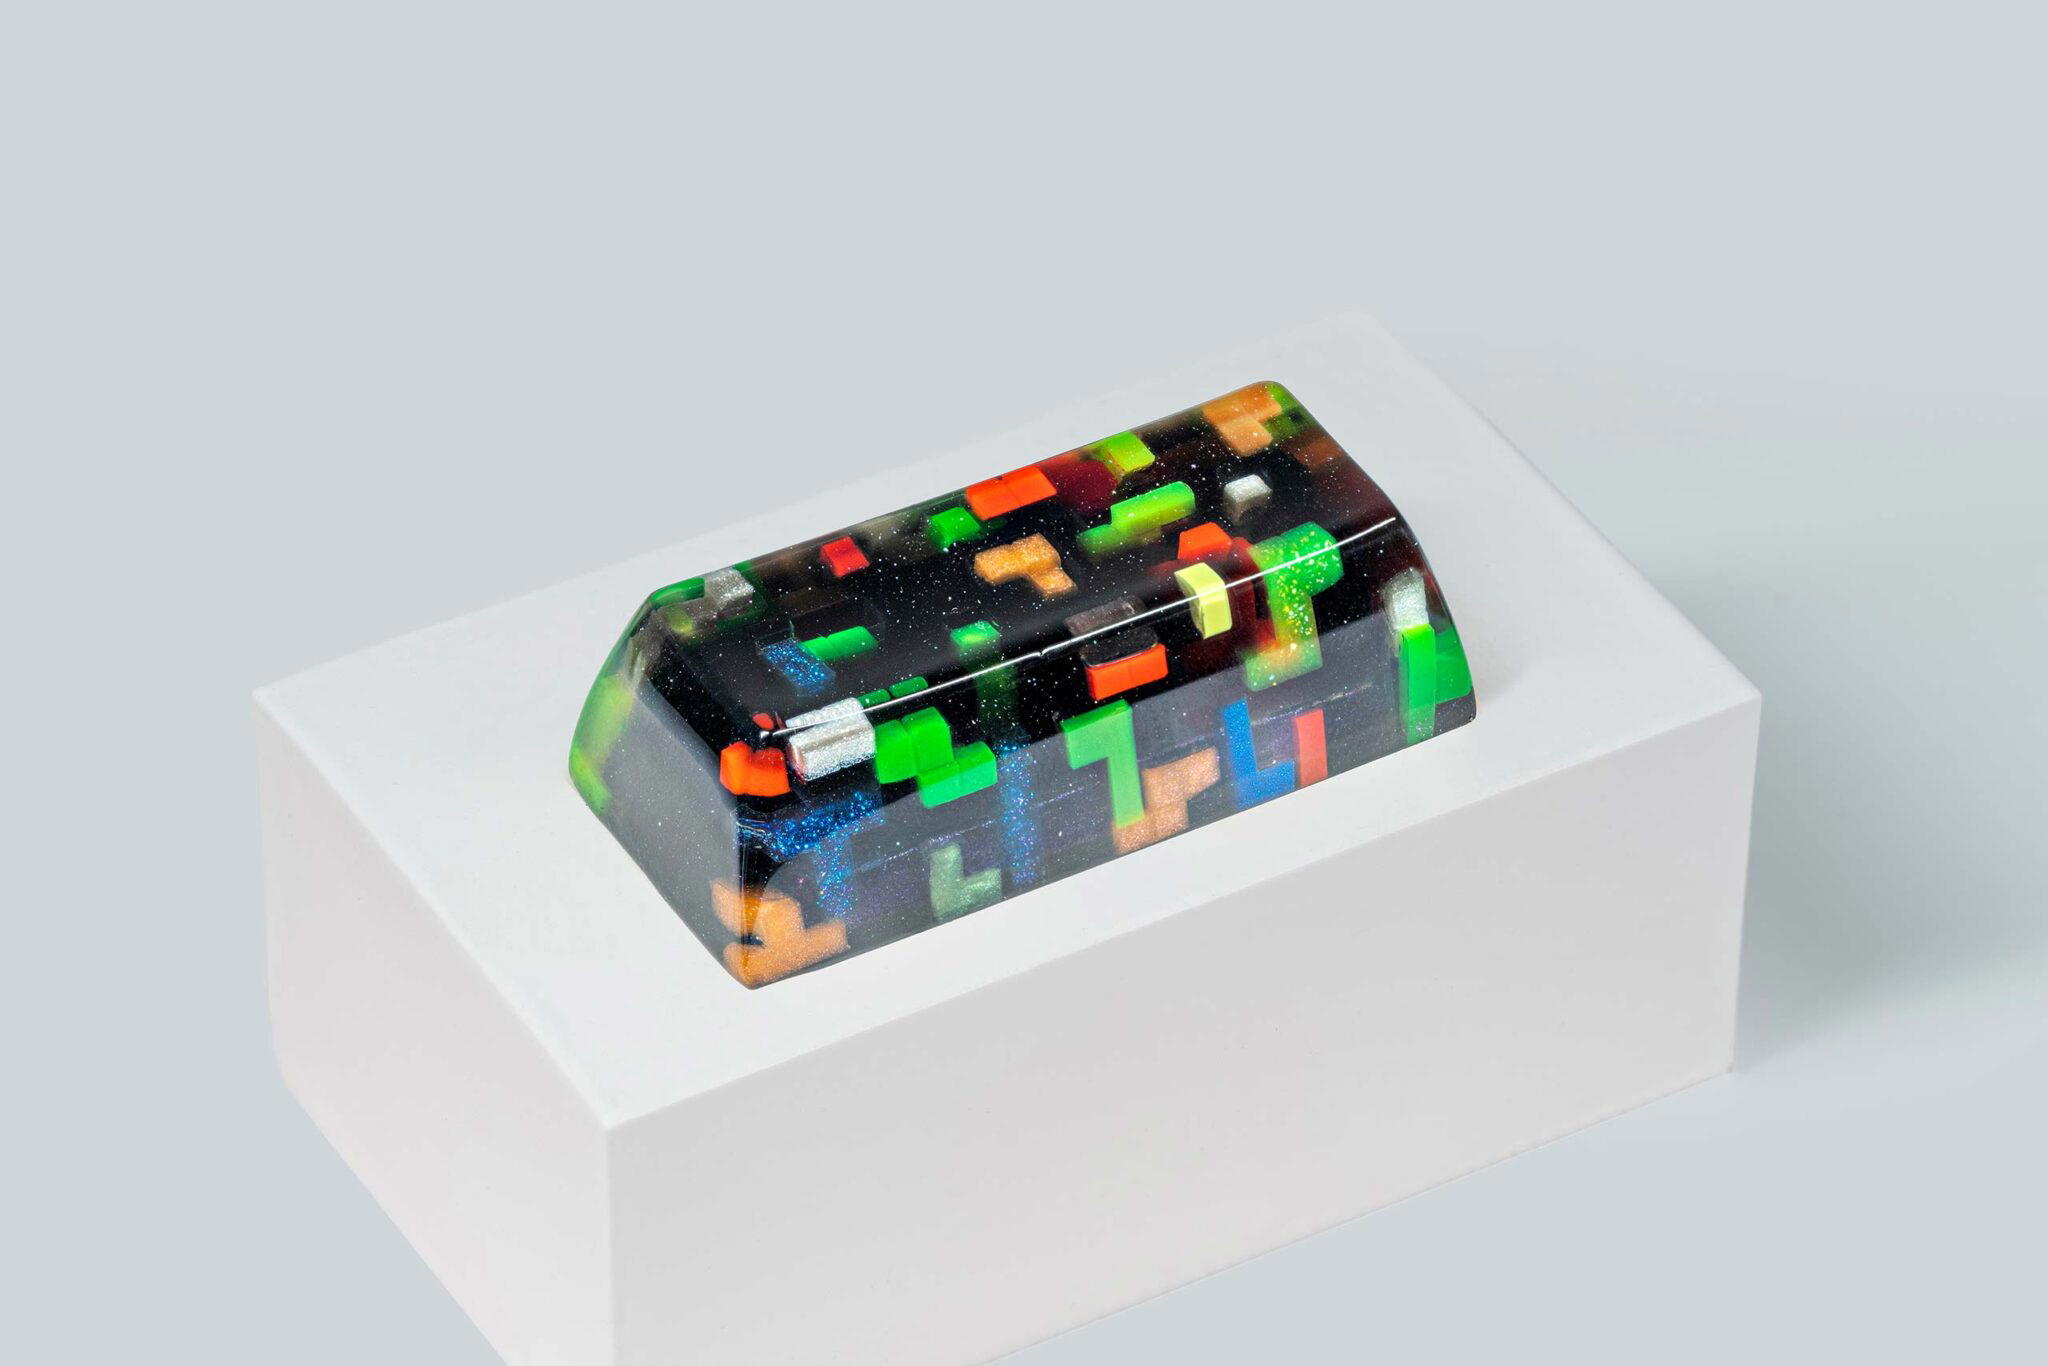
The final prototype keycaps are done, and I’ve finished photographing them. In the end, we have three sizes: 1u, 2.25u (for enter and left-shift), and of course, 6.25u (spacebar). There are also two different profiles: SA and Cherry profile, plus four different colorway designs to suit your preferences.
This is the first time I decided to record the entire process of assembling the pieces into a 6.25u spacebar keycap, so you can see it from the perspective of a Jelly Key artist. The whole assembly took about 4 hours, but thanks to the timelapse, the video is condensed to about 4 minutes. And remember, this is just the assembly part—other steps take even longer. You can check out Update 1 below for more details.
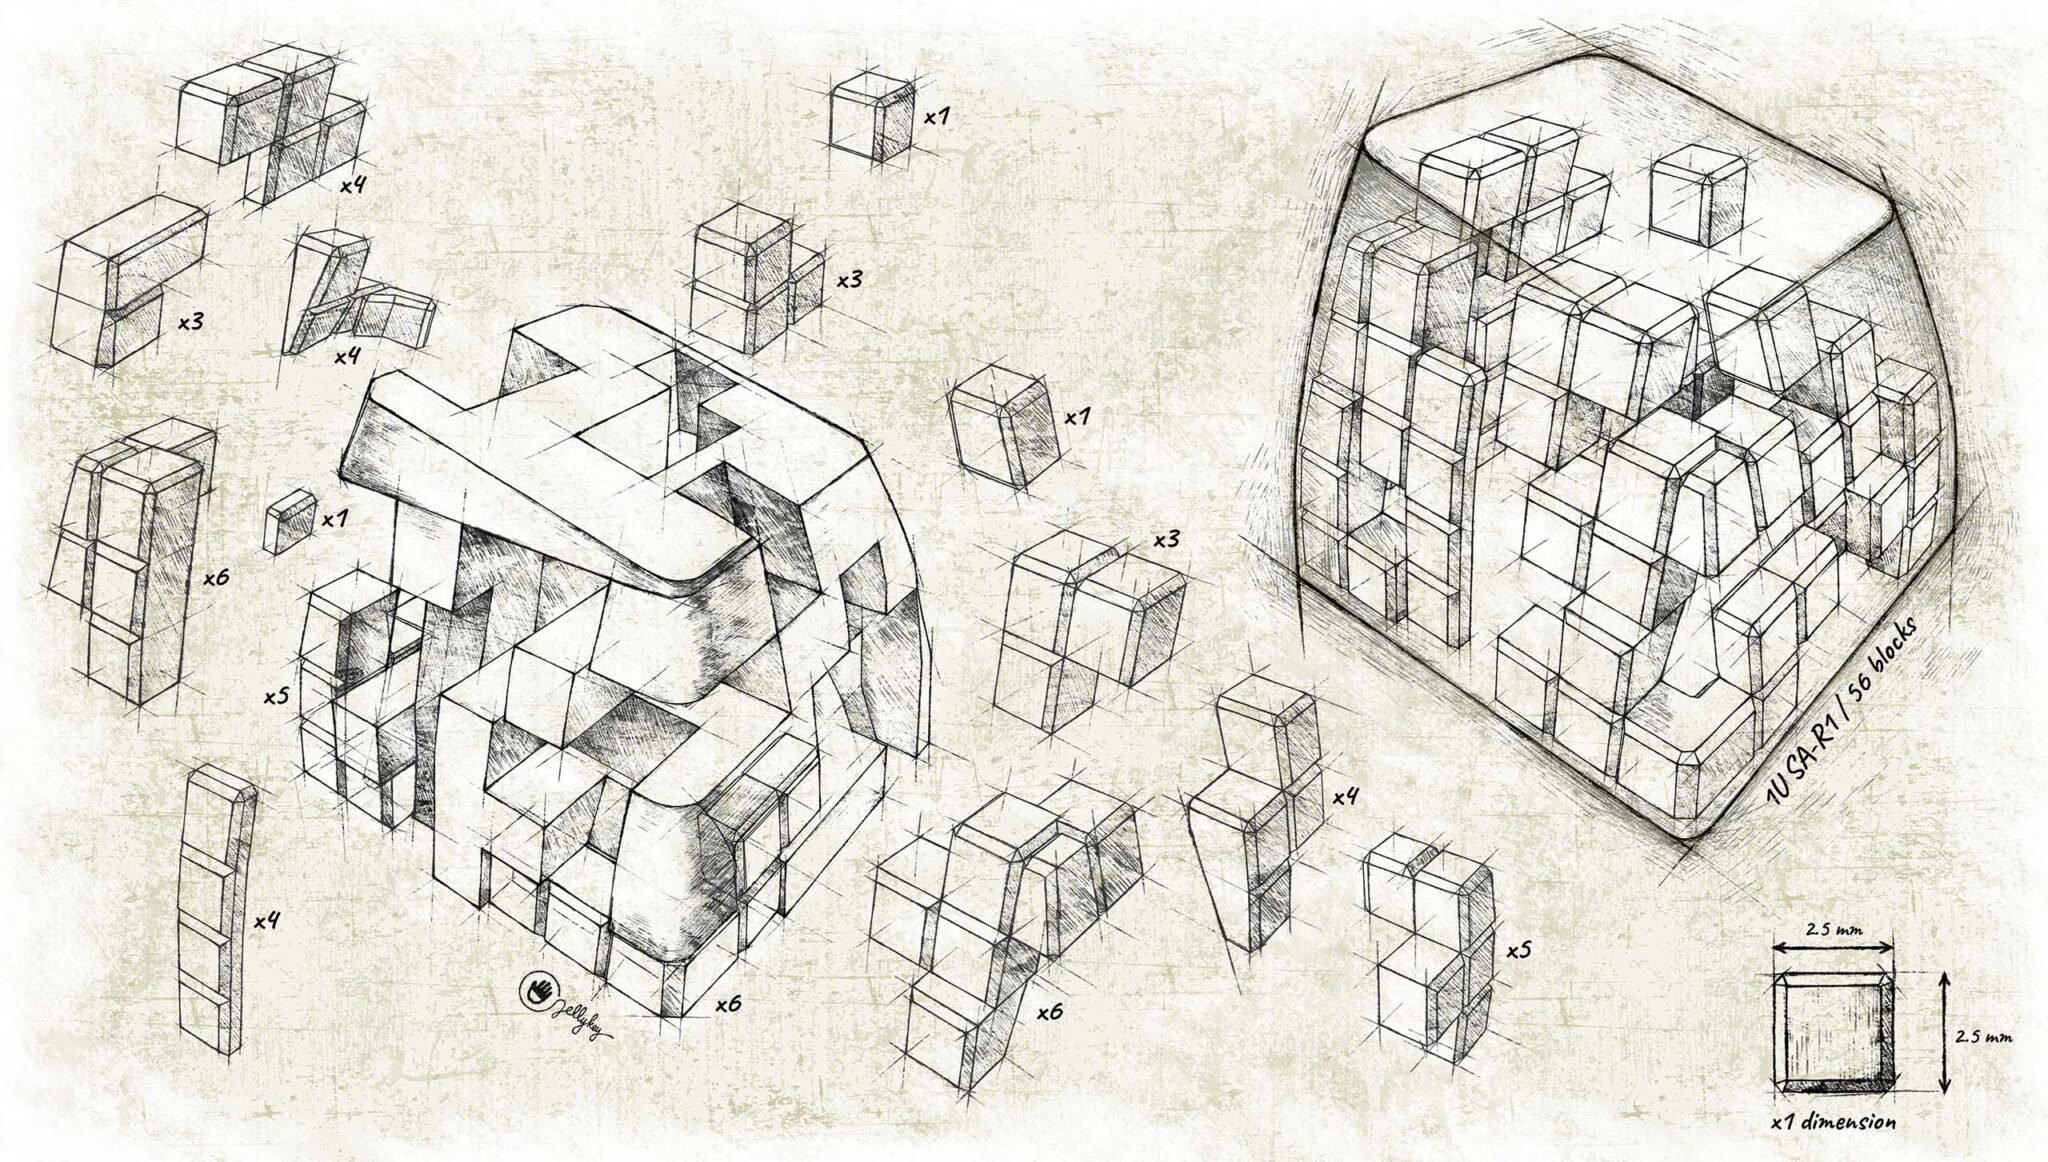
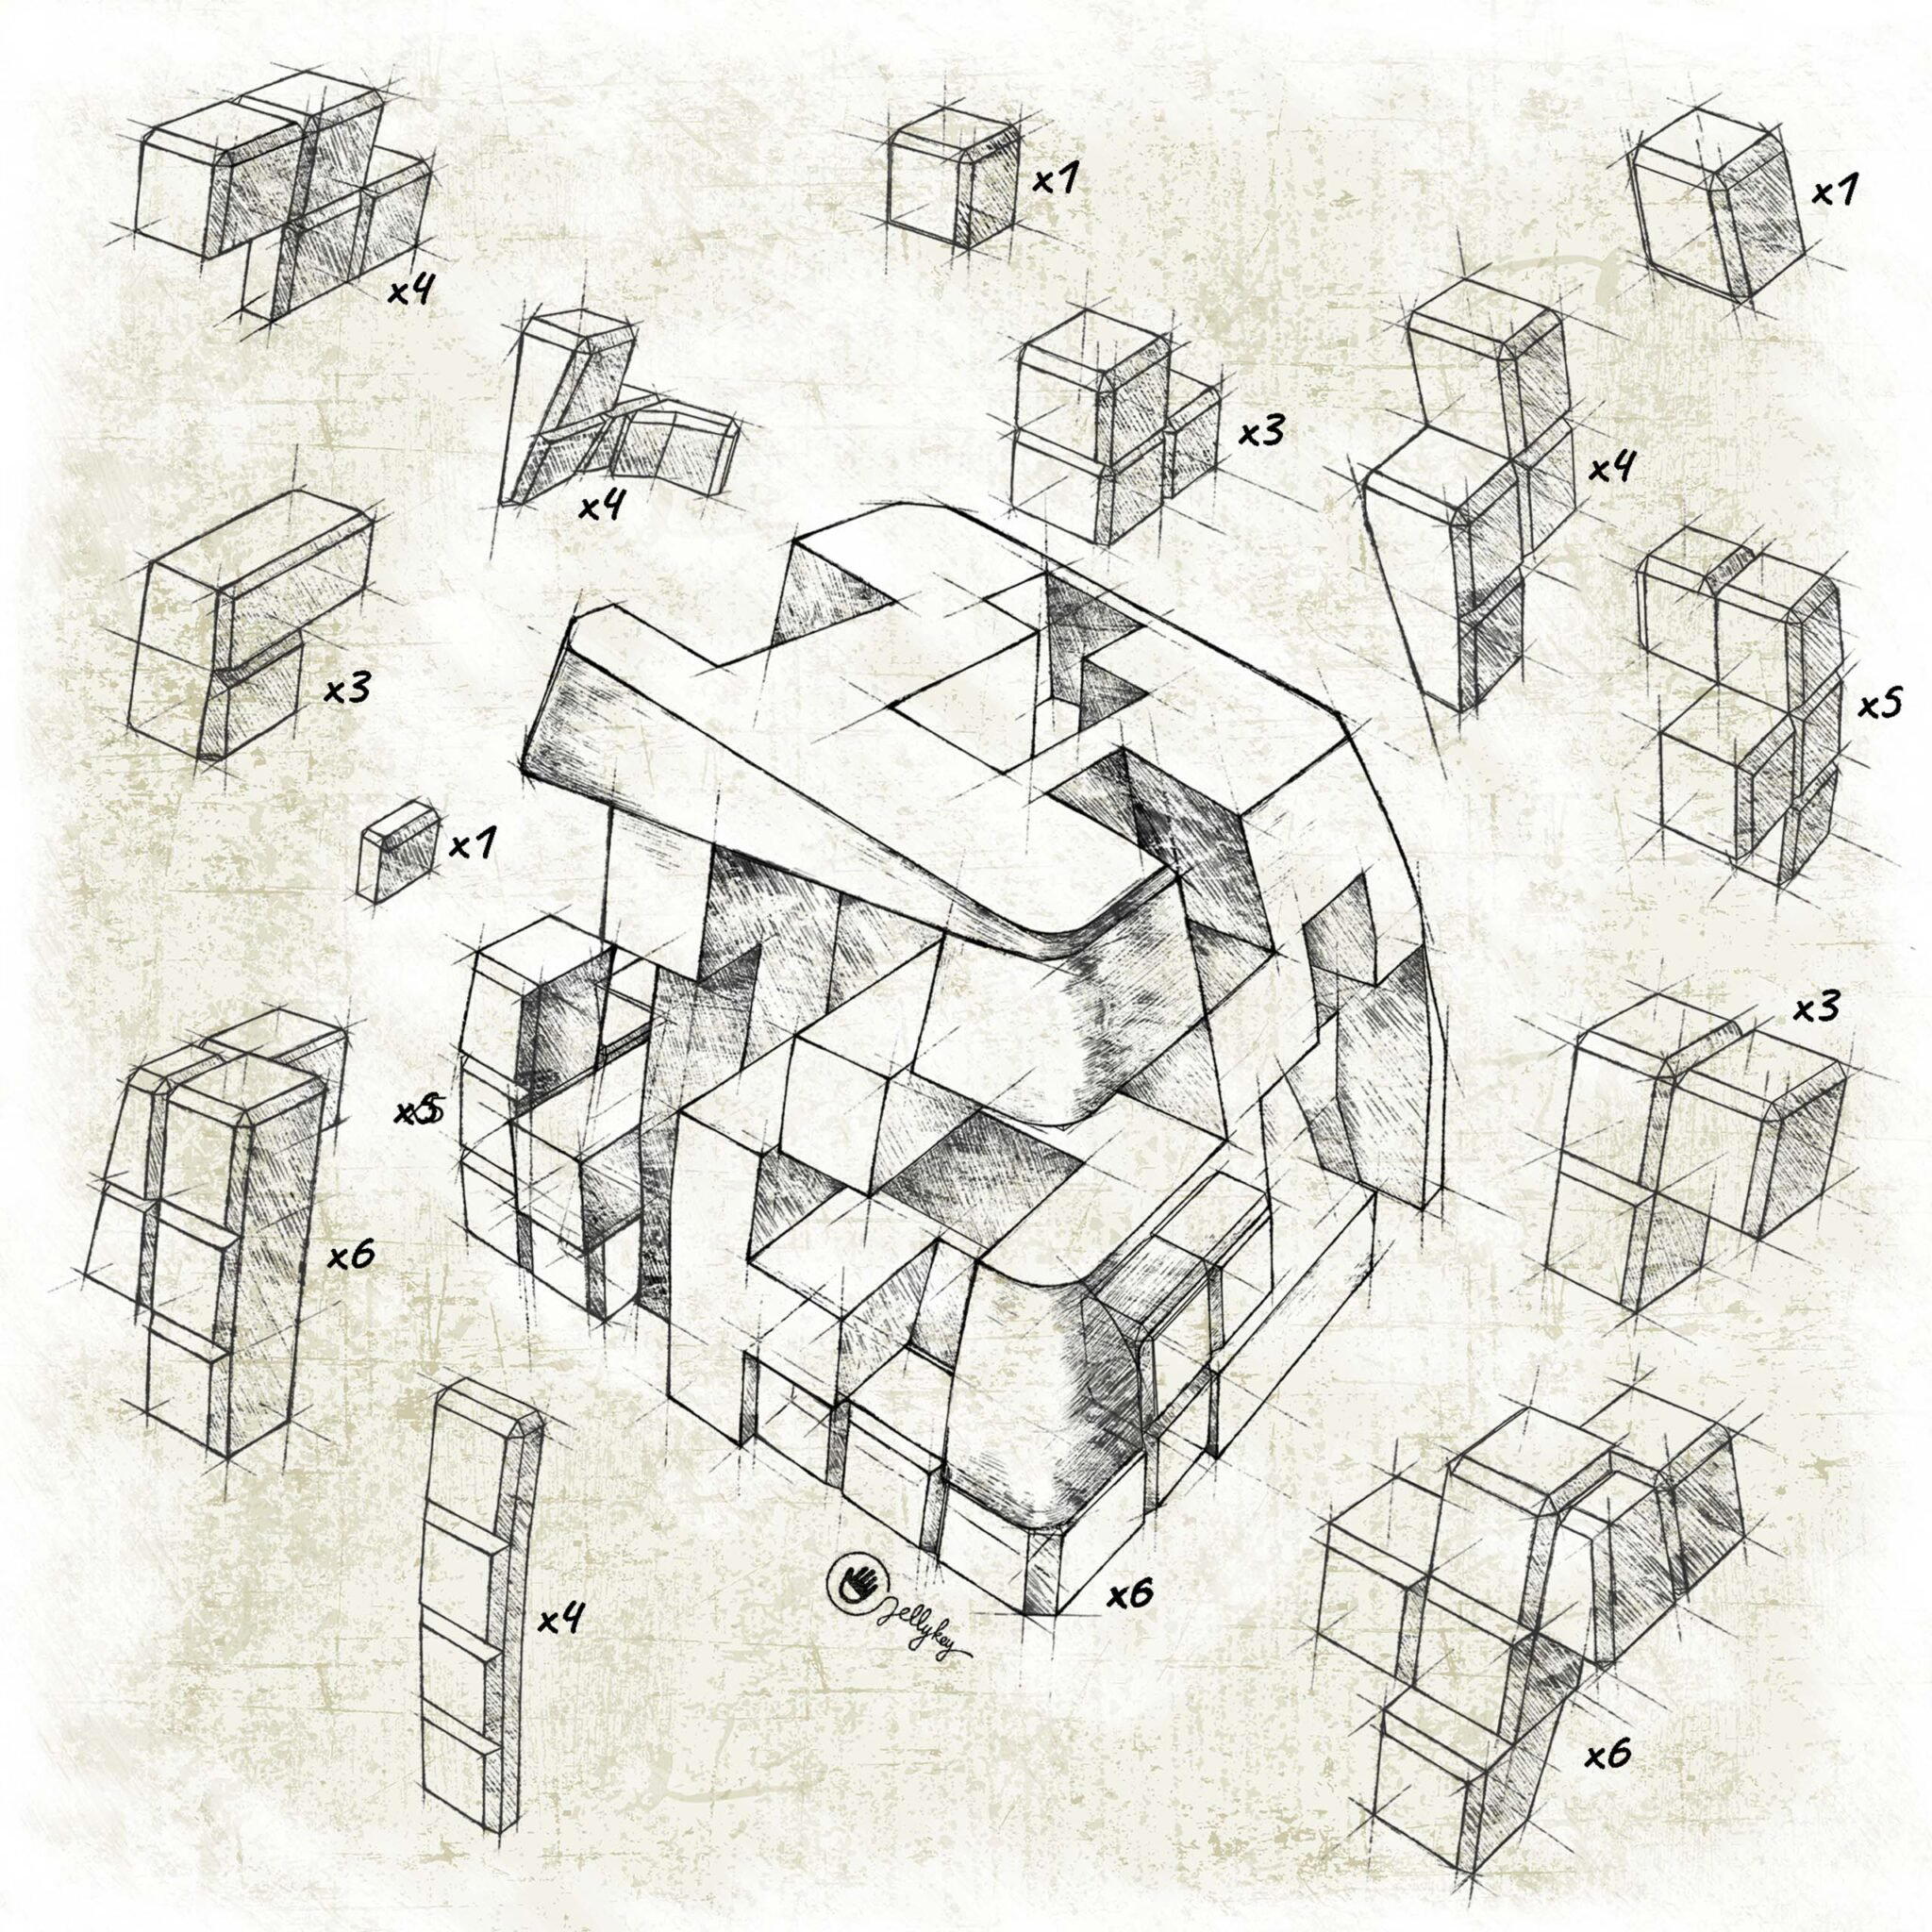
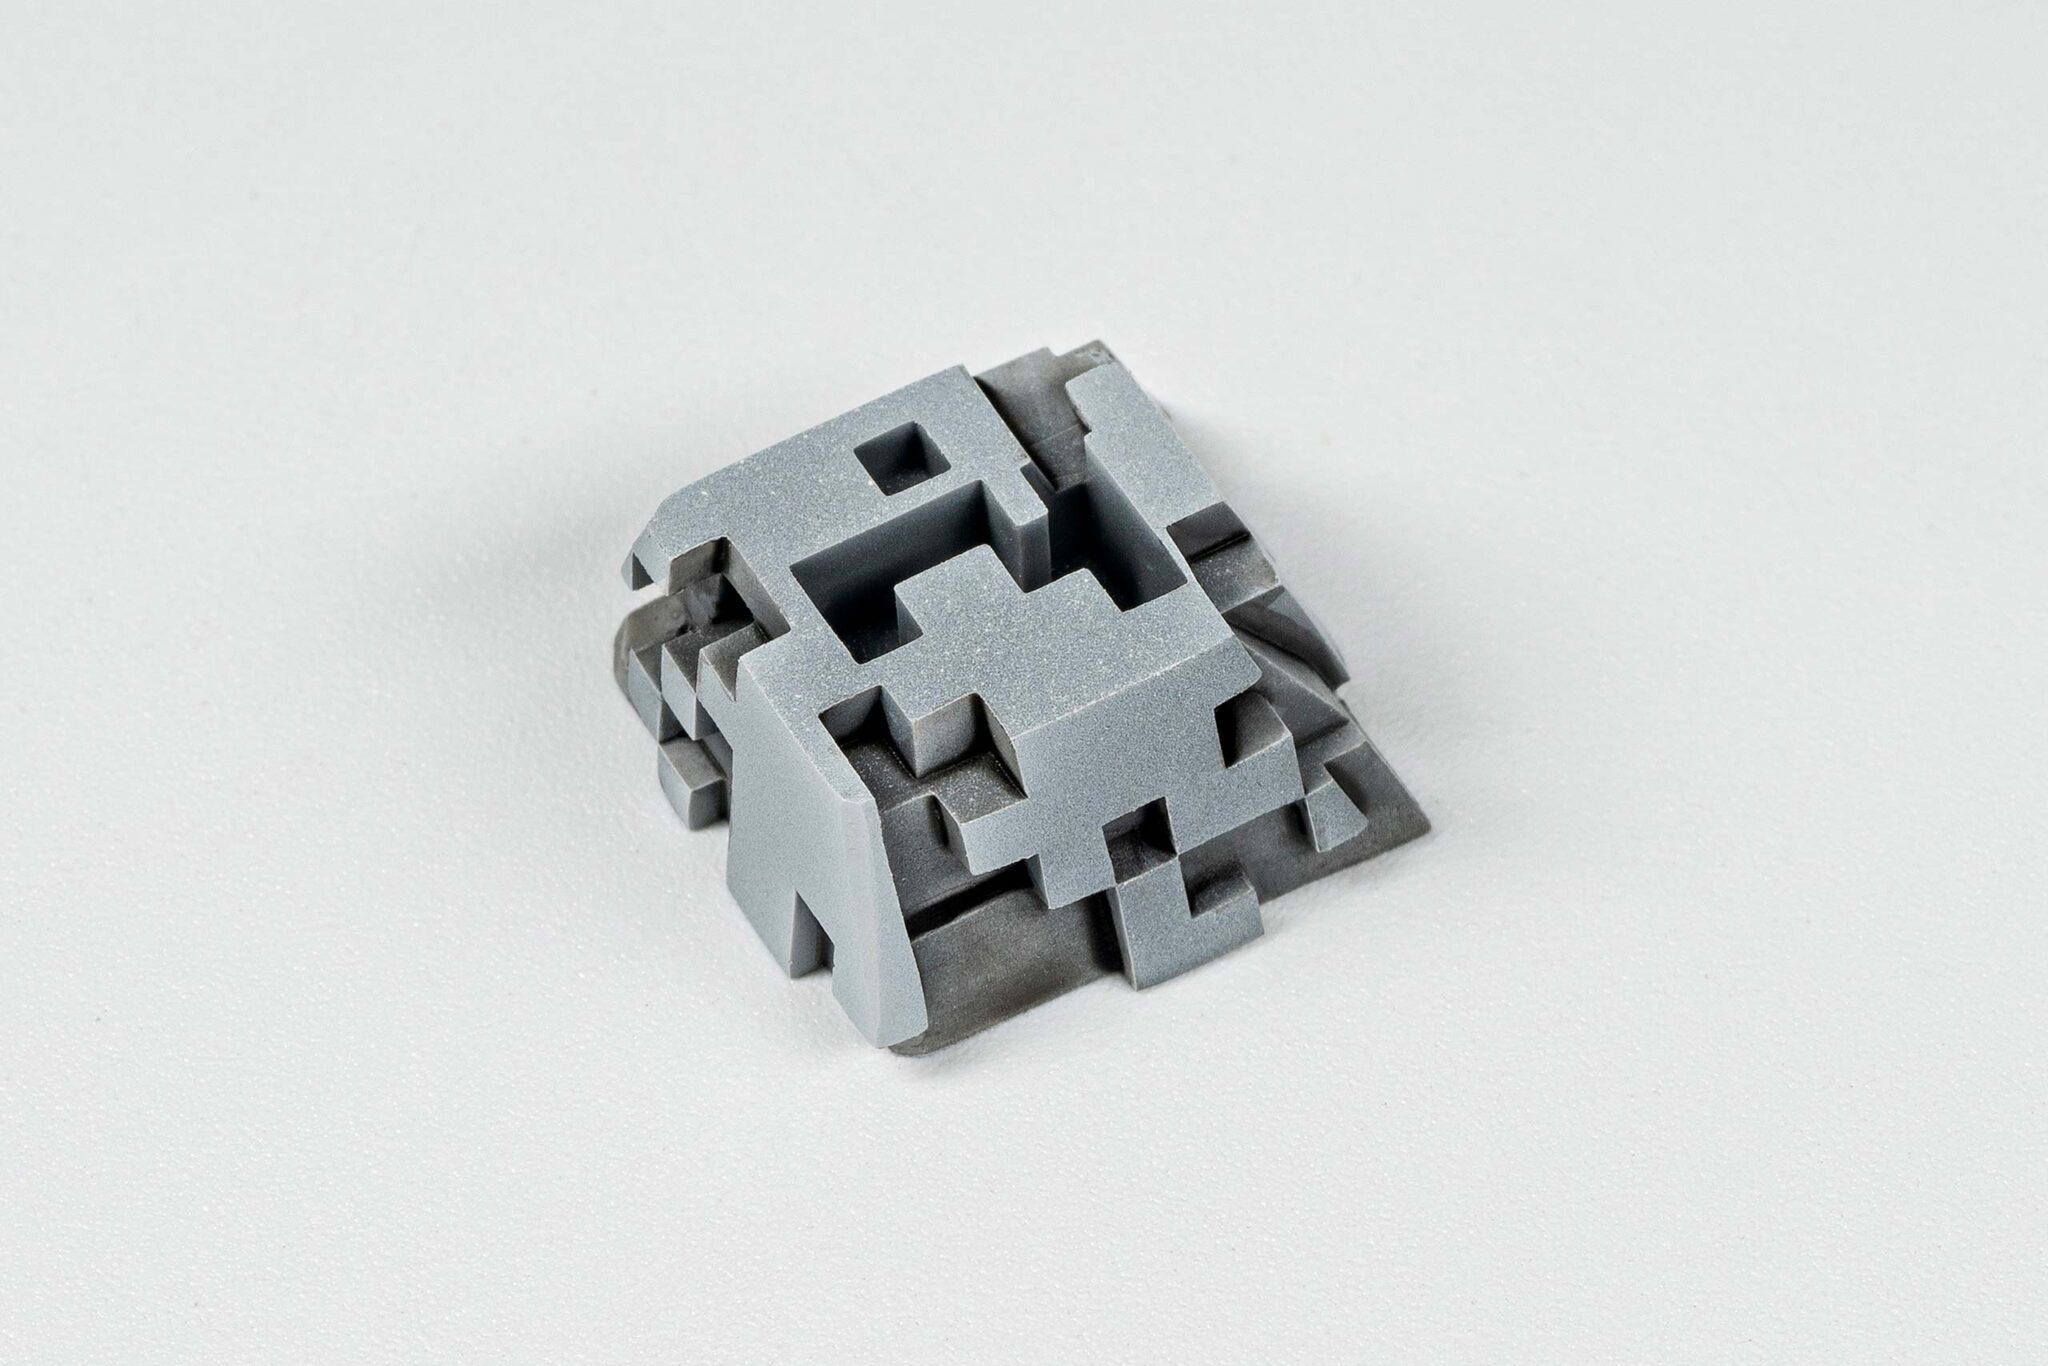
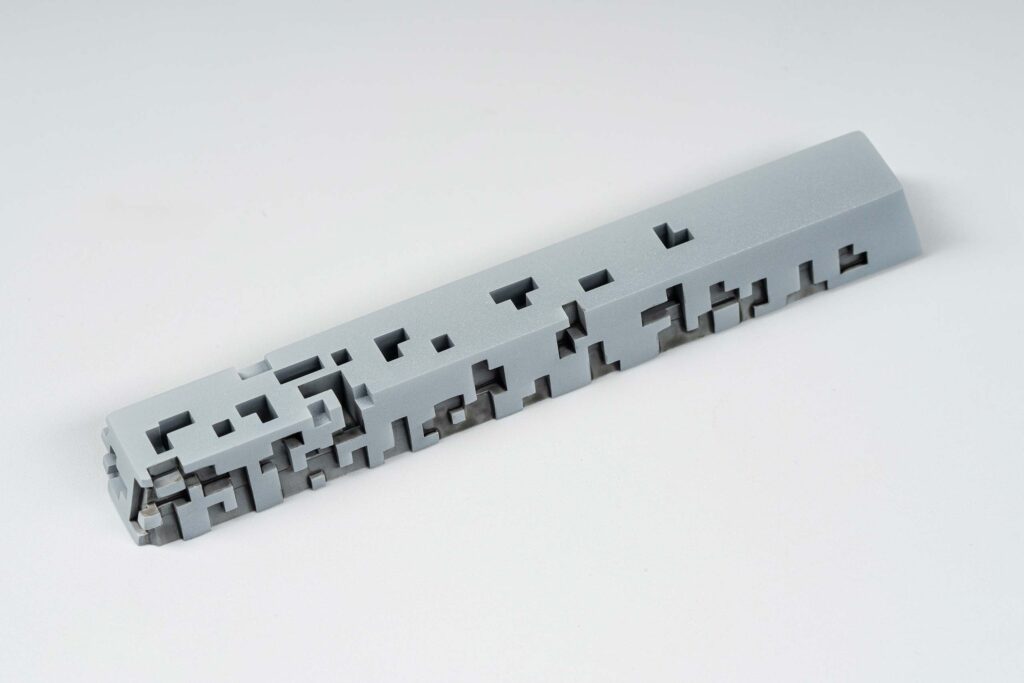
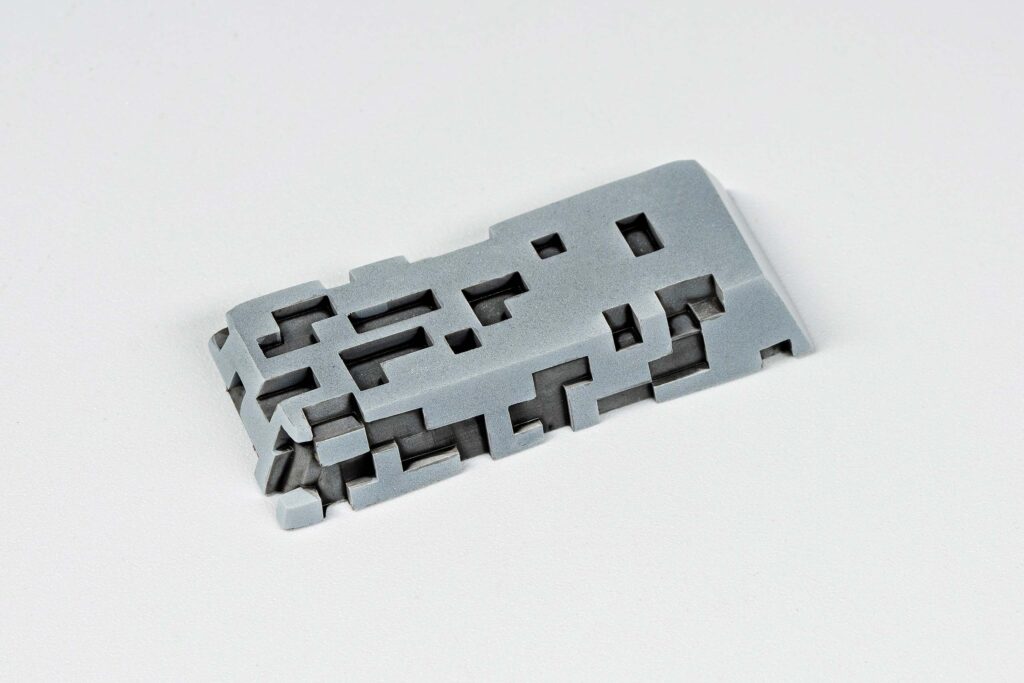
Here are the three cores of the Terix keycaps, designed with spaces left for attaching the colored blocks. We made them in gray and filled in the empty spaces during the design process to visualize how it would all come together. This helped us ensure the correct number of blocks and the right amount of internal space. Designing and adjusting the position and depth of each block was quite a challenge, but the result is truly amazing.
Update 1
As you know, I’m Steven, an 80s kid whose childhood was filled with playing Tetris on a handheld game console. I can never forget those days. When I started making keycaps in early 2015 (time flies, almost ten years now), I dreamed of designing a keycap with this theme. In 2016, I released the first prototype, but I couldn’t create separate blocks to achieve the unique 3D effect with the technology available then. So, the dream was put on hold.
Late last year, I revisited this project, meticulously calculating the size of each square block, the depth, and the slightly opaque transparency of the keycap body. I aimed to ensure this keycap would be the most LED-permeable one we’ve ever made. It appears transparent but not entirely, allowing the LED light beneath to create a mystical effect.
You might wonder why it took me so many years to perfect this design. It’s due to a simple yet challenging factor: the squares in 2D space and cubes in 3D space. However, with keycaps, my challenge was to make the blocks’ surface flush with the keycaps’ surface, which involved dealing with angled lines and curves. Designing each block individually with different curves and thicknesses is incredibly complex, ensuring nothing protrudes beyond the keycap’s boundaries while maintaining a perfect profile for everyday use.
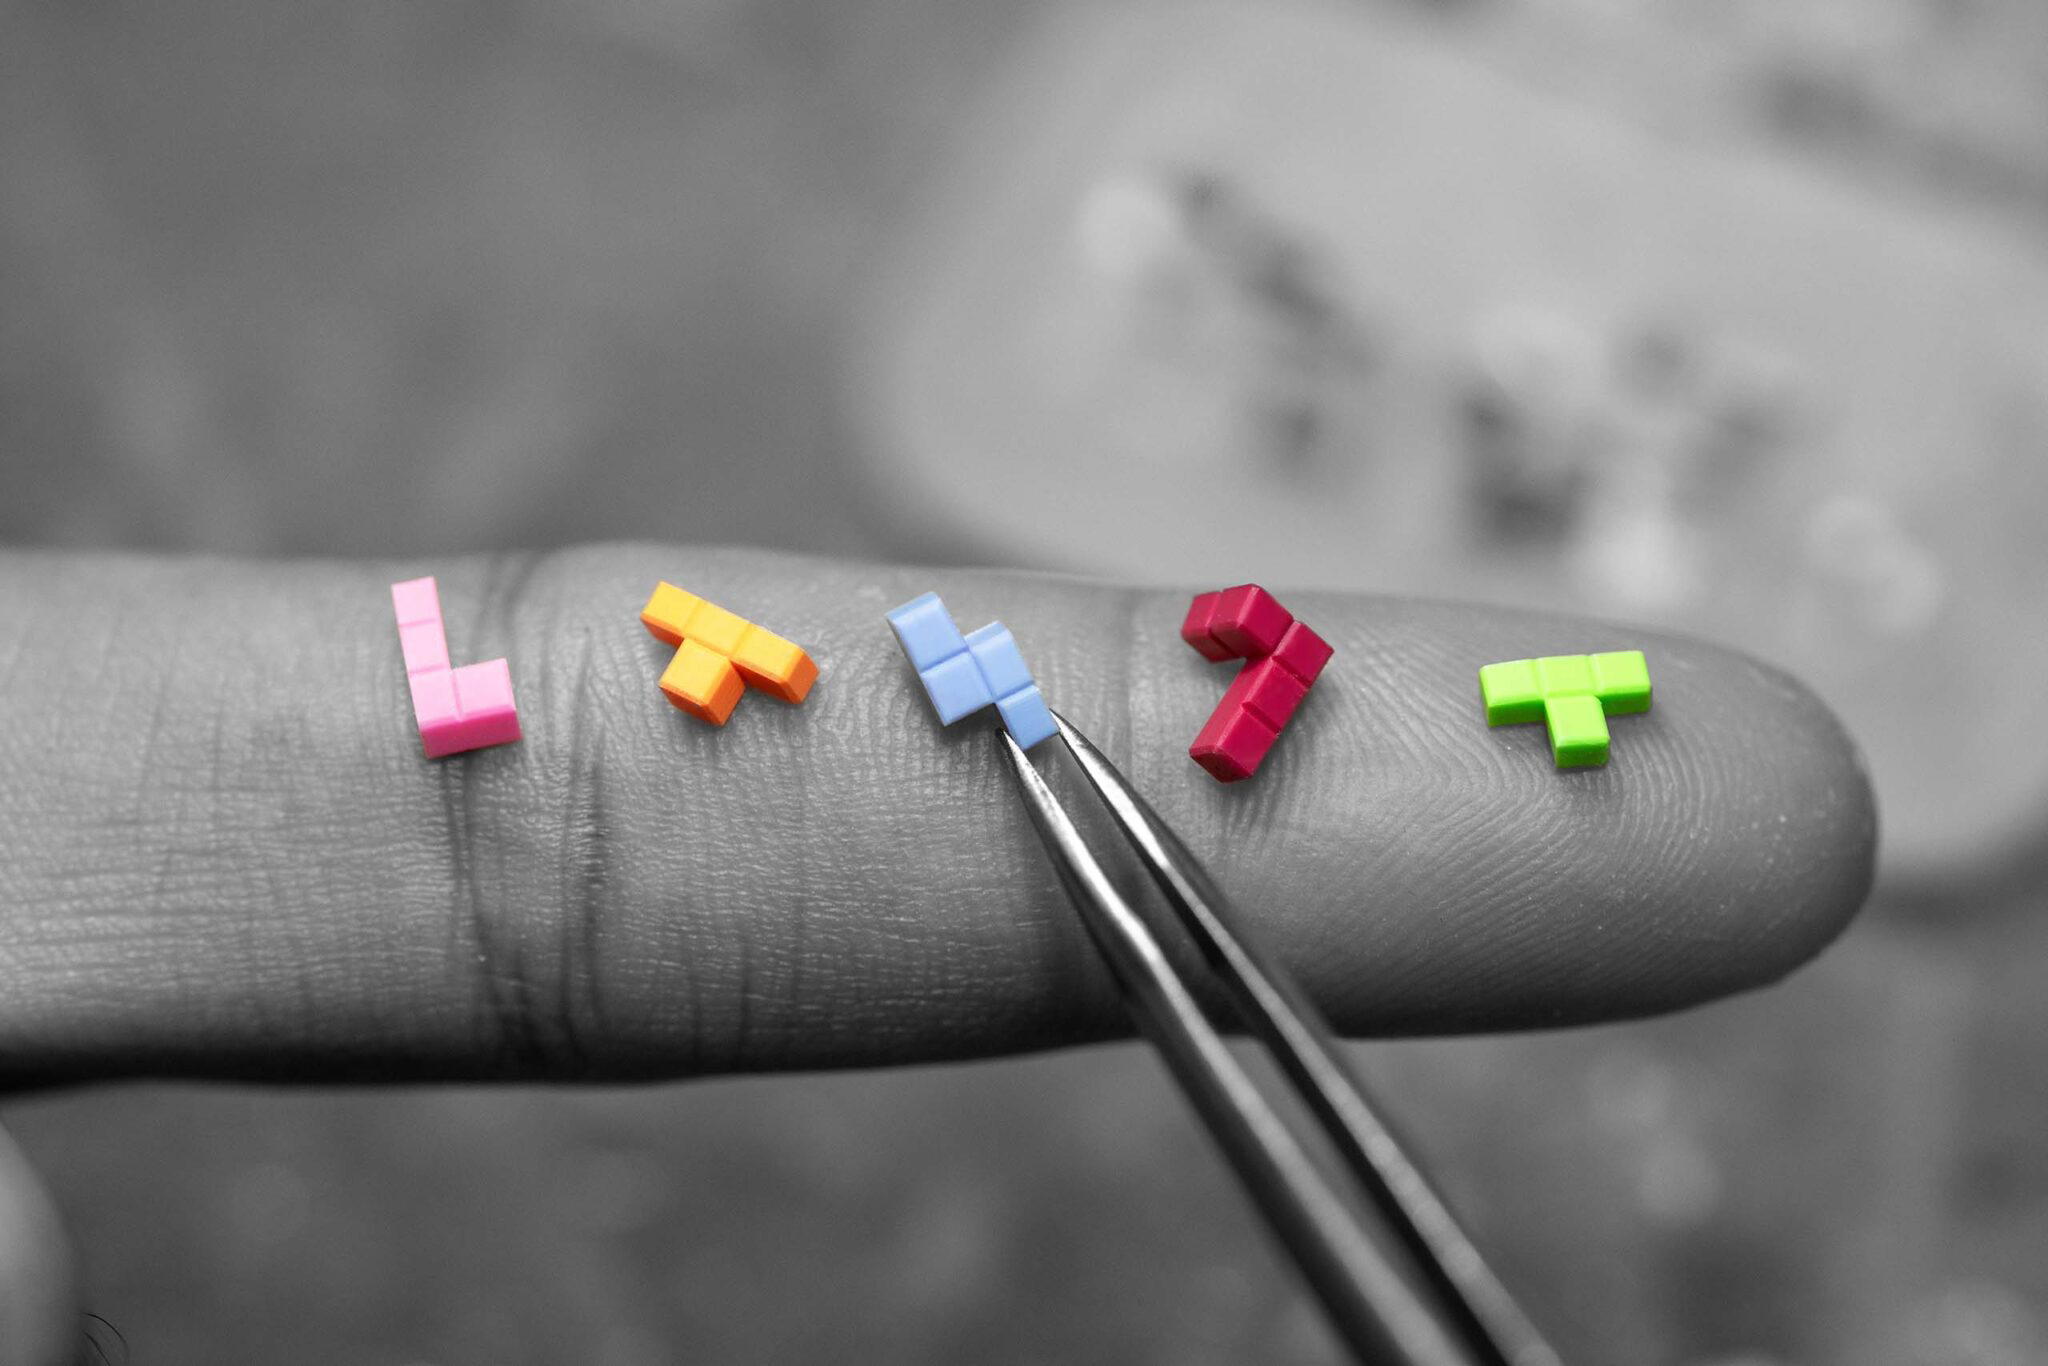
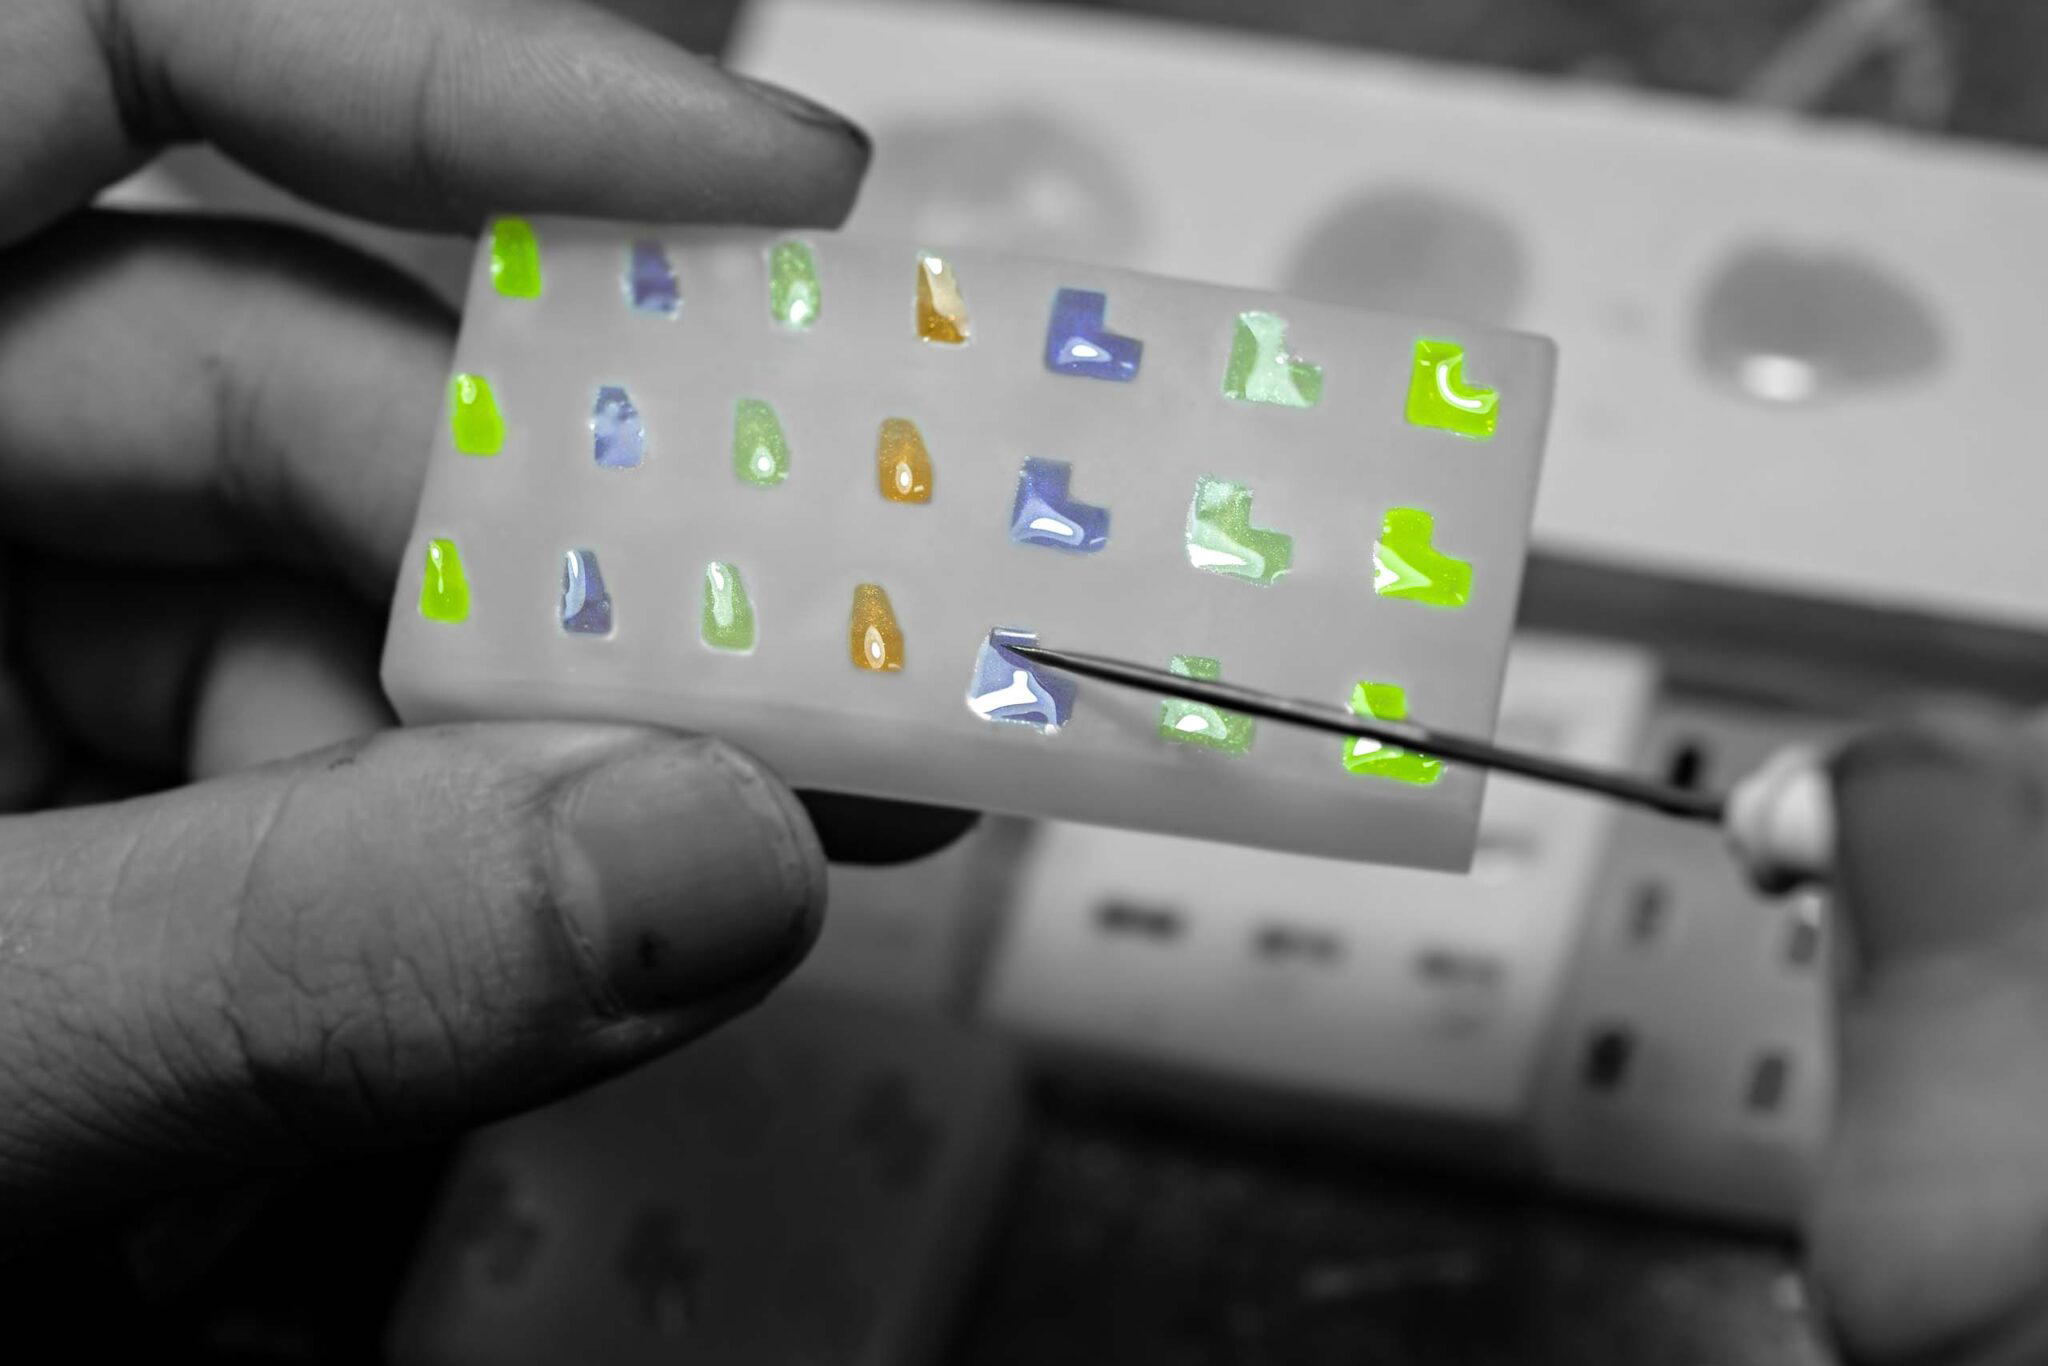
If I were to explain the steps involved in creating a Tetris keycap, believe me, you wouldn’t want to sit through it. I would need to emphasize repeatedly that all Jelly Key keycaps are handcrafted. This fundamentally differentiates them from 3D-printed keycaps painted and encased in a clear resin. The effort involved in casting these pieces is immense. Imagine molding each piece individually, mixing resin with each color, casting quickly before the resin sets, and then allowing 16 hours to harden perfectly in a pressure pot. We then demold each block and manually finish the surfaces. Any pieces with bubbles or imperfect shapes are discarded. This process continues until we have enough pieces for one keycap. The same meticulous steps apply to the keycap itself. Because it’s handmade, sometimes the blocks don’t fit perfectly and need further adjustment, color matching, and securing with UV resin. The final step is the overall casting, which again takes 16 hours. You’re not mistaken, and it requires six more surface finishing steps before a Tetris keycap is complete, provided it passes QC.
I am finishing up the prototypes of Terix, and you will be able to see the final version soon. I’m thrilled to introduce this to my friends worldwide. See you at the Groupbuy and Giveaway. I love you all.
Steven
Subscribe to the email form below, and when the Groupbuy opens, I’ll send you a 5% coupon.
